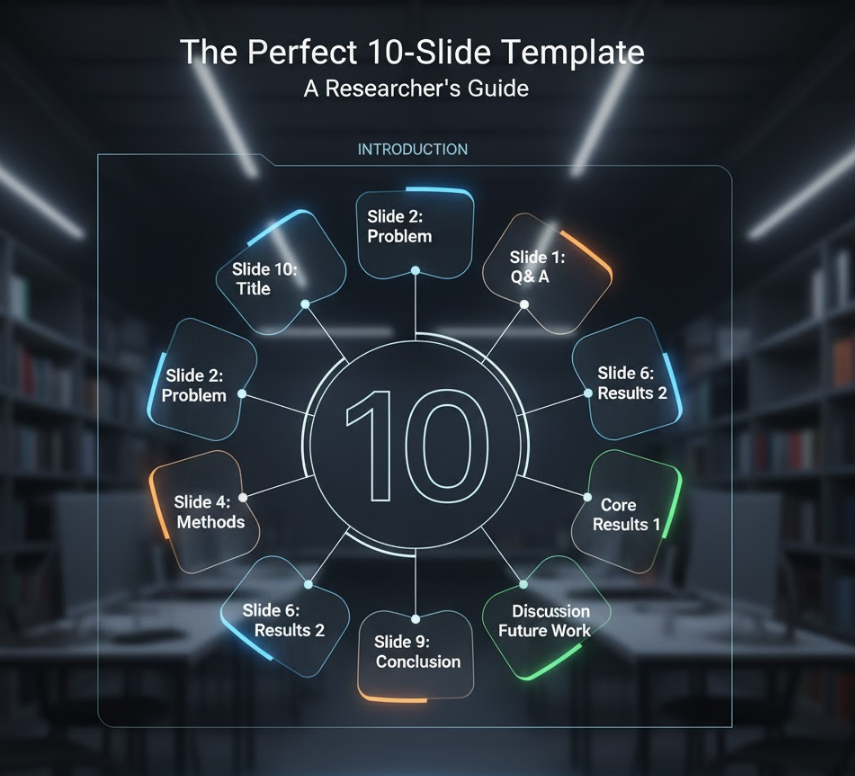
The Perfect 10-Slide Conference Presentation Template (A Researcher's Guide)
Turning a dense, 10-page research paper into a compelling 15-minute conference presentation is one of the most challenging tasks in academia. The most common mistake? Trying to fit everything in. A successful presentation is not a summary of your paper; it's an advertisement for it.
The goal is to provide clarity, impact, and engagement, leading the audience to read your full paper. This proven 10-slide template is designed to keep you focused, concise, and on time.
Part 1: The Introduction (Slides 1-3)
This section sets the stage. You have about 3-4 minutes to grab the audience's attention and convince them why they should care.
Slide 1: The Title Slide (Your First Impression)
This slide is your academic business card. It should be clean and professional.
-
What to include:
-
Your Full Title: Make it identical to the paper's title.
-
All Authors & Affiliations: List all co-authors and their institutions.
-
Your Contact Info: Your name, email, and ORCID iD.
-
Conference Details: The name, date, and location of the conference.
-
(Optional): Your funder's logo.
-
Slide 2: The "Hook" / Problem Statement
Don't open with a boring "Literature Review" slide. Instead, present the core problem.
-
What to include:
-
The Big Picture: What is the broad problem your field is facing? (e.g., "Current AI models are too computationally expensive.")
-
The Specific Gap: What specific piece of this problem is not solved?
-
The Research Question: State your research question clearly. (e.g., "Can we develop a new algorithm that reduces computational cost by 50%?")
-
Slide 3: The "So What?" / Aims & Objectives
This slide answers the "Why?" It bridges the gap from the problem to your solution.
-
What to include:
-
Aims: What did you set out to achieve? (e.g., "This work aims to design and validate a lightweight neural network architecture.")
-
A "Teaser" of Your Findings: Briefly state your key result. (e.g., "We successfully developed a model that achieves comparable accuracy with 60% less compute.") This acts as a thesis statement for your talk.
-
Part 2: The Core of Your Research (Slides 4-7)
This is the main body of your talk. The key here is "Show, Don't Tell." Use visuals, not text.
Slide 4: Methodology / Approach
This is the "How" of your research.
-
What to include:
-
A Flowchart or Diagram: Visually represent your experimental setup, model architecture, or data collection process.
-
Key Parameters: Do not list every setting. Only list the essential parameters or materials the audience needs to know to understand your results.
-
Slide 5: Results – Key Finding 1
This is your most important result. Give it its own slide.
-
What to include:
-
One Clean Graph/Chart: Make it large, with clear labels and a descriptive title.
-
The "Takeaway": Write one single sentence at the top or bottom of the slide that tells the audience what this graph means. (e.g., "Our model (red) consistently outperforms the baseline (blue) in all tests.")
-
Slide 6: Results – Key Finding 2
This slide presents your second most important finding or a crucial piece of supporting data.
-
What to include:
-
Another Key Visual: A table, another graph, or a key visualization.
-
Keep it Simple: Again, follow the "one concept per slide" rule. Don't clutter it.
-
Slide 7: Discussion / Interpretation
The audience sees your results. Now, tell them what the results mean.
-
What to include:
-
How do these results answer your research question from Slide 2?
-
Are there any limitations or unexpected findings?
-
How does this compare to existing work (the "state-of-the-art")?
-
Part 3: The Conclusion (Slides 8-10)
You have 1-2 minutes to wrap up and leave a lasting impression. Do not introduce any new data here.
Slide 8: The Conclusion
This is your final summary. It should directly mirror your introduction.
-
What to include:
-
Restate the Problem: (1 sentence)
-
Restate Your Key Finding: (1-2 sentences)
-
State Your Main Contribution: (1 sentence)
-
This should be 3-4 concise bullet points.
-
Slide 9: Future Work & Acknowledgements
Wrap up the scientific story and give credit.
-
What to include:
-
Future Work: 1-2 bullet points on the next logical steps for this research.
-
Acknowledgements: Thank your funding agencies, collaborators, and research group.
-
Slide 10: The "Thank You" / Q&A Slide
This is the slide that will be displayed during the question-and-answer session.
-
What to include:
-
A simple "Thank You" and "Questions?"
-
Crucially: Your name and contact information (email, website, LinkedIn, or QR code to the paper) again, so the audience can contact you.
-
Pro-Tips for a Memorable Delivery
-
Rehearse for Time: A 15-minute slot means 12 minutes of talking and 3 minutes for questions. A good rule of thumb is 1-2 minutes per slide.
-
Don't Read Your Slides: Your slides are for the audience, not for you. They should only contain keywords and visuals. Your notes should contain your script.
-
Breathe: It's normal to be nervous. Speak slowly, clearly, and make eye contact with different sections of the audience. They are on your side.